How to Retile an Image with GDAL
Sharon Fitzpatrick
Coast Train DeveloperTutorial: How to Retile an image with GDAL.
Retiling an Image with GDAL
Before you begin
❗ Make sure you have GDAL installed. ❗
If you don't have GDAL installed see my other article on Downloading GDAL with Anaconda
Install Anaconda
First, open Anaconda.
Activate the environment for GDAL you made earlier. Mine is called “pygdal”. Run the command:
conda activate pygdal
- You can see how to create a virtual environment in python in my article Downloading GDAL with Anaconda
Switch into the directory containing your tiff. Use the command: cd "<"directory containing your tiff">" (This stands for change directory).
For myself my .tiff file is in C:\Users\Sharon\sample_images directory so I used the following command to switch into that directory:cd C:\Users\Sharon\sample_imagesRun the following command:
gdal_retile.py -ps 1024 1024 -targetDir C:\Users\Sharon\sample_images 2018-01-10_Sandwich_25cm_ortho.tif
Make sure to place a space in between the name of your target directory and the name of your .tiff file.
- My target directory: C:\Users\Sharon\sample_images
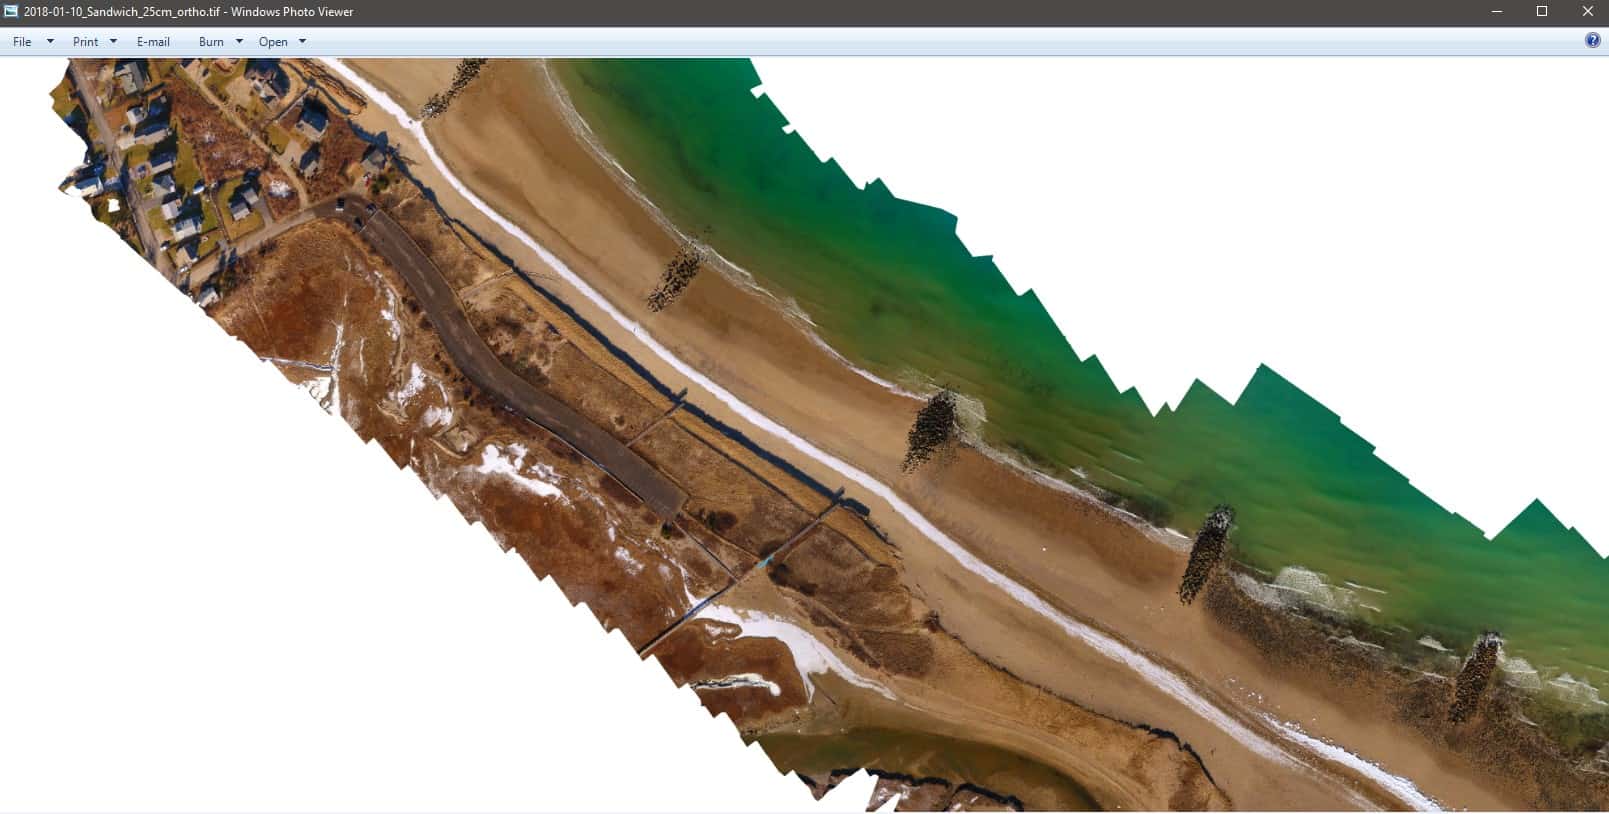
- My .tiff file name: 2018-01-10_Sandwich_25cm_ortho.tif.
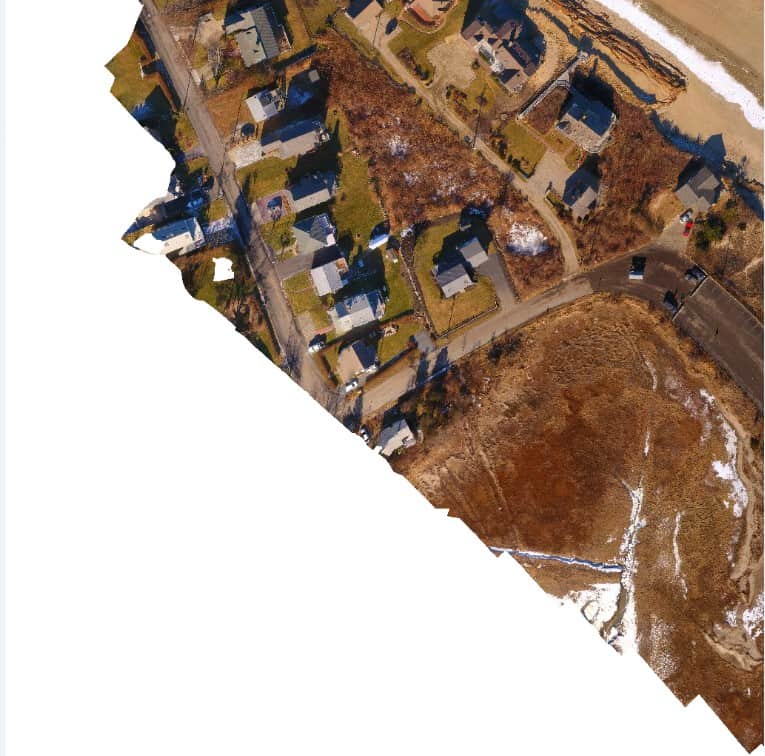
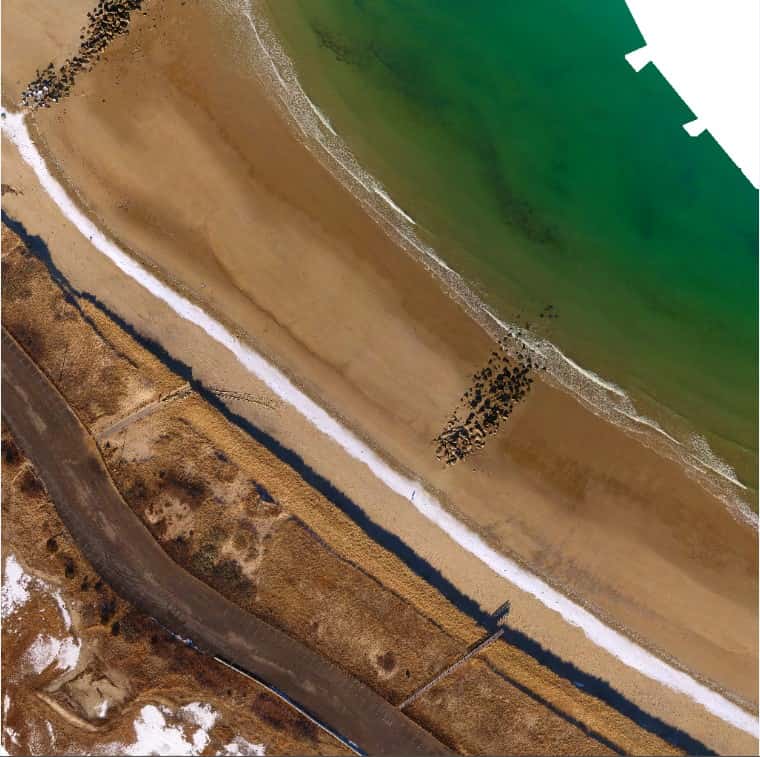
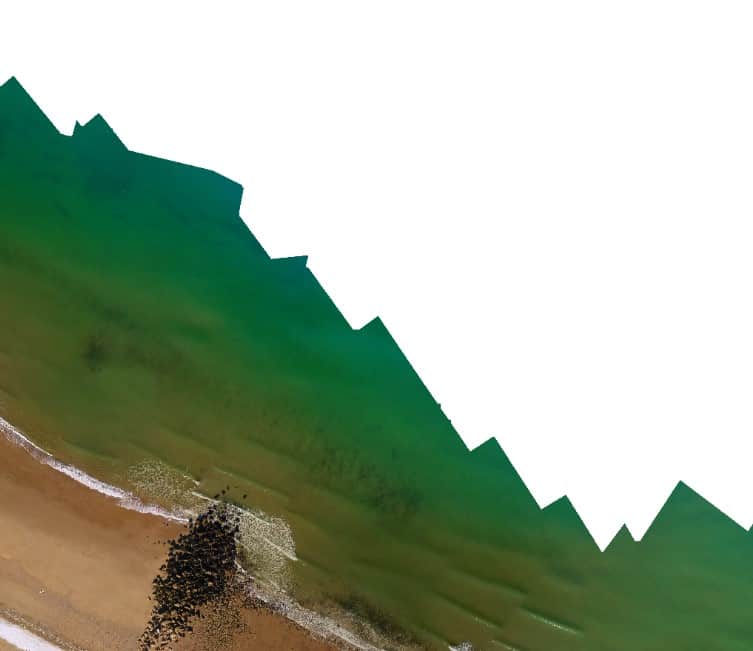
- This command transforms your .tiff file into several smaller tiffs each with pixel dimensions 1024 x 1024.
Don’t worry your original .tiff file is still there in addition to the new .tiff files that you created.
Example .tiff file images
Full .tiff Image

Retiled .tiff Images


- Congrats!🎉 You successfully retiled your image!
Helpful Links
- More examples: https://docs.geotools.org/stable/userguide/unsupported/imagemosaic-jdbc/prepare.html
- Official GDAL Documentation for the retile command: https://gdal.org/programs/gdal_retile.html